OVERVIEW
The Assessment Online and RPL Assess system helps RTOs manage the student's assessment process in a most efficient and seamless manner.
Our Explainer-Videos will give you a quick 5 minute review of the system's features and services:
Assessment Online and RPL Assess are available to Registered Training Organisations (RTOs) only. Start by registering and creating your RTO's profile. Nominate a key person within your RTO to become the system's Administrator.
The Administrator may then register Assessors, enrol Students, select and purchase the Unit of Competency. You may select an Assessment pathway that includes a robust assessment process mapped against the training package or Recognition of Prior Learning (RPL), an assessment process that recognises the Student's experience and credentials.
REGISTER AND CREATE YOUR RTO PROFILE
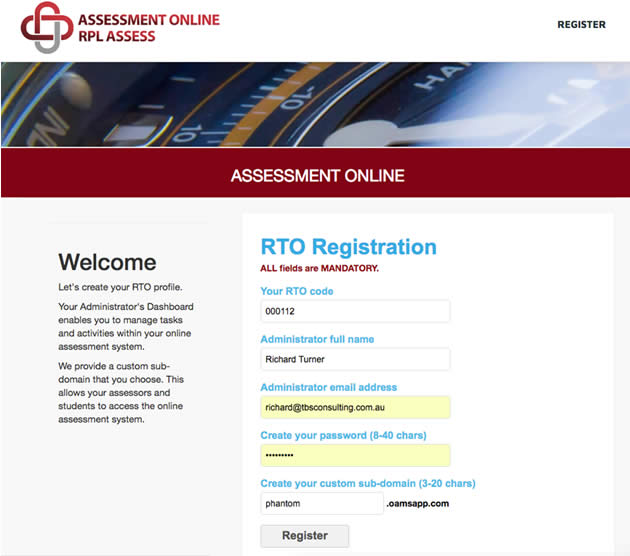
Click REGISTER NOW. This will open the Registration Page seen here
Create your own sub-domain
For example:
- Entering: Your Name
- Will become: https://YourName.oamsapp.com
- Entering: Your RTO Name
- Will Become: https://YourRTOName.oamsapp.com
Ideally, select a sub-domain that’s easy to remember and user friendly. Save your custom URL in your ‘Favourites’ or ‘Bookmarks’.
Click Register
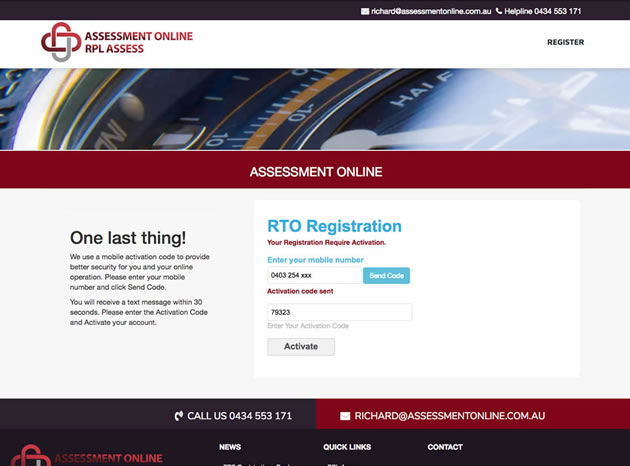
Security
After clicking Register, follow the prompts and you’ll receive a security activation code on your mobile phone. You can resend the activation code if required.
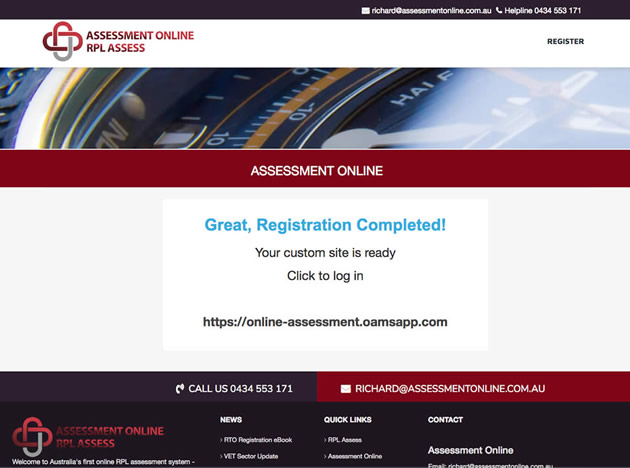
Once again, simply follow the instructions. Click to log in by clicking on your new Sub-domain and custom website link. In this example: http://online-assessment.oamsapp.com
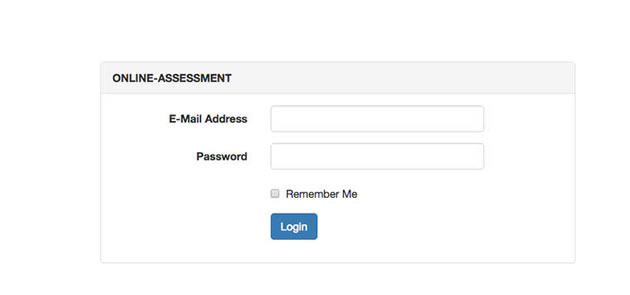
Custom Website
When you Click to log in this login prompt will open. Enter your email address and password to log in.
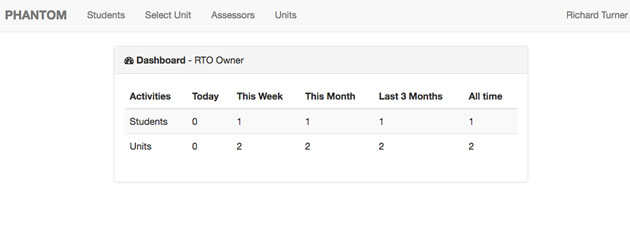
After the succesful login, you will see your RTO Administrator’s Dashboard
REGISTER YOUR ASSESSOR(S)
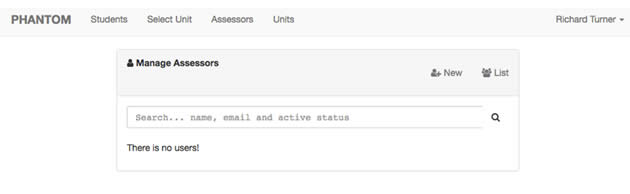
Click on Assessors at the top menu to see a list of your registered Assessors. When you click on New and the menu page will open
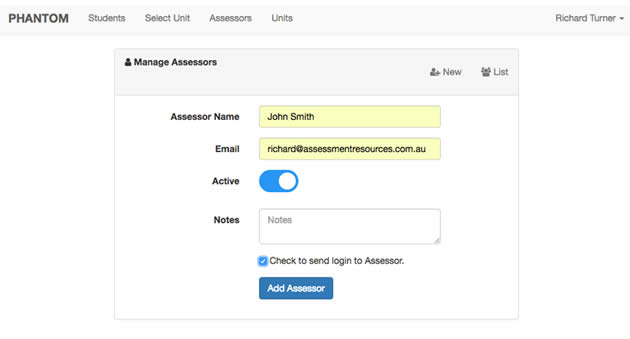
- Enter your Assessor's name.
- Enter your Assessor's email.
- Ensure the Active icon is 'on' (blue)
Notes may include; the units or qualifications this person is authorised to assess; the course or client this Assessor will work with; their campus or location; etc.
Click the tick box to send and email to your Assessor then click: Add Assessor
Your Assessor will receive an email with instructions on setting up their password and login.
At this stage, your Assessor does not have any students. You need to assign Students and Units of Competency under your Assessor.
ASSIGN YOUR STUDENT(S)
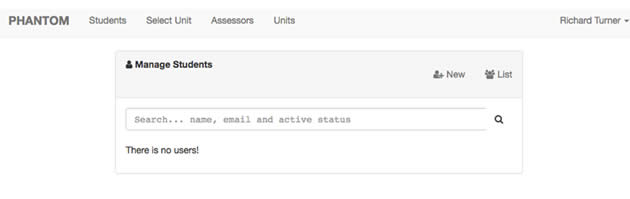
Click on Students at the top menu to see a list of your registered Students.
Click on New at the top right of the next menu to register your new Student.
When you click on ‘New’ and the menu page will open:
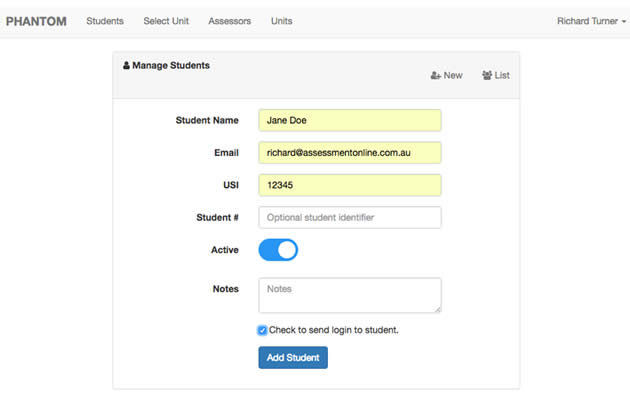
- Enter your Student’s name
- Enter your Student’s email
- Enter your Student’s Unique Student Identifier (USI)
- Enter your RTO’s Student number you’ve assigned to this Student (optional)
- Ensure the Active icon is ON (blue)
Notes may include the course number our course group this student is enrolled in; the qualification this student is enrolled in; etc.
Click: Add Student
Your Student will receive an email with instructions on setting up their password and login.
SELECT THE UNIT OF COMPETENCY
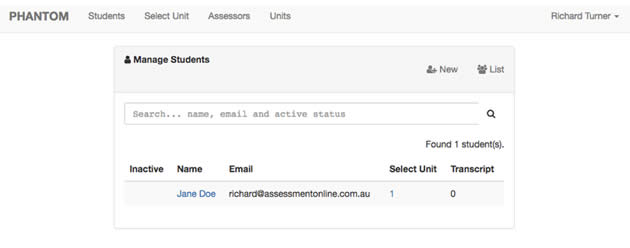
Click on Students on the top left of the main menu.
Click on List at top right of the Dashboard. This will open the list of your students.
Identify the Student you would like to assign the Unit of Competency and click the number under the heading Select Unit
This will open the Manage Students Dashboard that includes your Student's name. In this example, Jane Doe:
PLEASE NOTE
Be sure you have spoken to Richard Turner before you go any further. Richard will discuss the unit of competency you would like to be loaded on the Assessment Online platform. This includes building a customised online menu so your material will be presented in a familiar format. Once your unit is loaded you may proceed to the next step and select the unit. From this point follow the remainder of the User Guide (below).
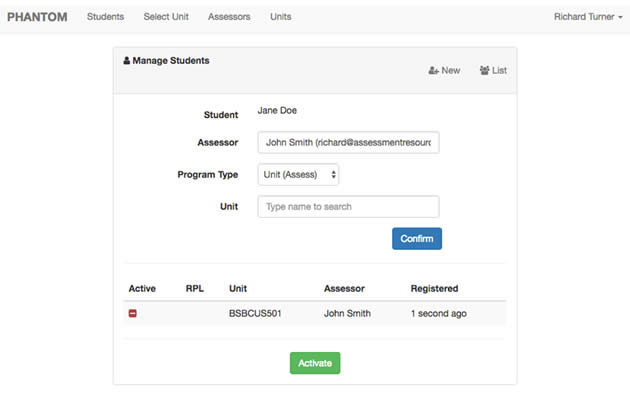
Enter the Assessor you've nominated for this Student.
Click on the menu arrows beside Program Type.
Select from the drop menu:
- Unit (assess)
- RPL
- Qualification
Click on the menu beside Unit and enter the unit code. For example: BSBCUS501
A drop menu will appear. Use this menu to enter the full unit code and title. The online assessment system will provide you with the full unit code and title.
You may continue to add more than one Unit of Competency to this Student.
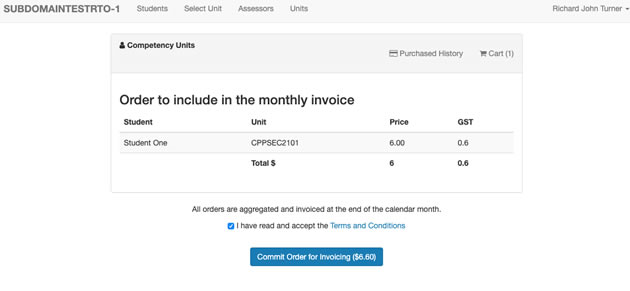
The system will confirm the purchase(s) and the total to be paid before you are committed to make the payment. Follow the series of prompts to the secure Checkout and payment, managed by eWay.
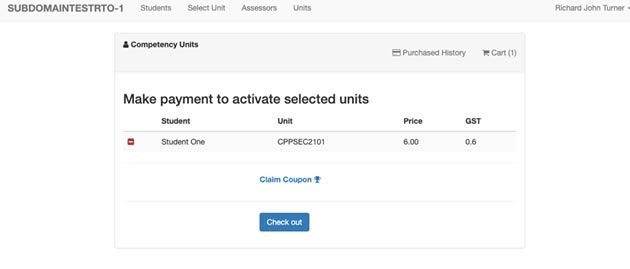
Click on Check Out to finalise the process and add this unit of competency to your monthly account.
You will receive an invoice at the end of the month. It will be accompanied by a transcript confirming your purchases.